
Important Update: Credit Card on File Policy
To improve efficiency, reduce paperwork, and ensure seamless delivery of your care, all patients will be required to add and maintain a valid credit or debit card securely on file by December 1, 2025. You can conveniently add your card through the Patient Portal. For full details, please visit the Billing section of our website.
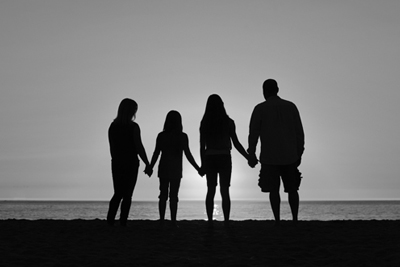
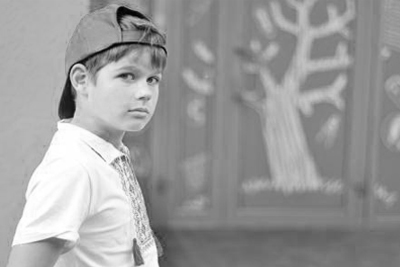
As children progress through growth and development, they are often faced with challenges of coping, adapting, and relating to others and the world around them. Children differ from adults in the way they experience and respond to physical, mental, and emotional situations.
Learn MoreAdolescents face a greater risk of mental health conditions when their living situation is inconsistent, stigmatization or bullying occurs, along with social and environmental issues that impact their ability to manage day to day situations.
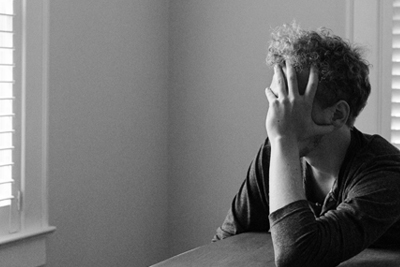
Learn MoreAdults are presented with many life challenges including marriage, child bearing and rearing, divorce, medical illness, work, social stress, and caring for aging parents. Middle aged adults, particularly women, begin going through body changes that occur naturally with age.
Learn MoreAmong the older adult population, many mental health concerns go undiagnosed. Older adults may experience chronic physical health conditions, memory problems and cognitive decline along with isolation and loneliness.
Learn More
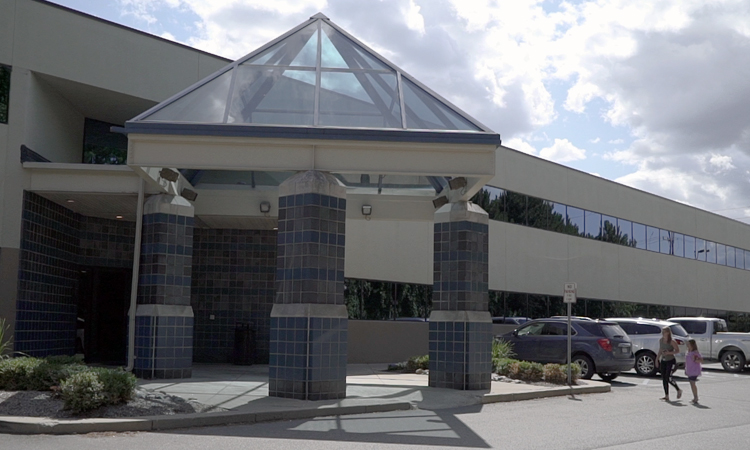
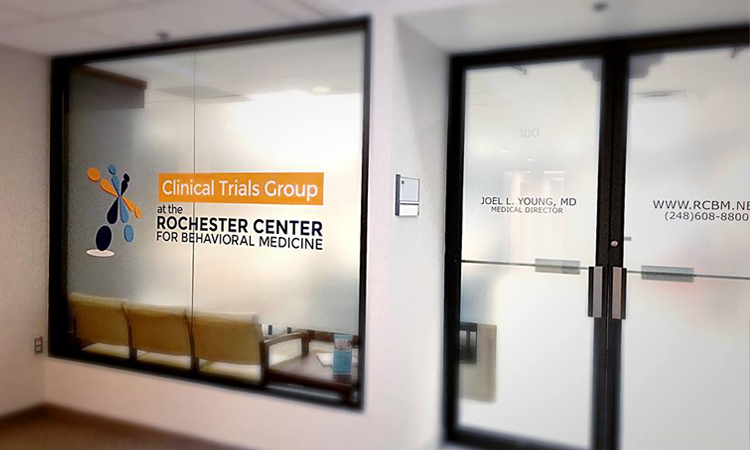
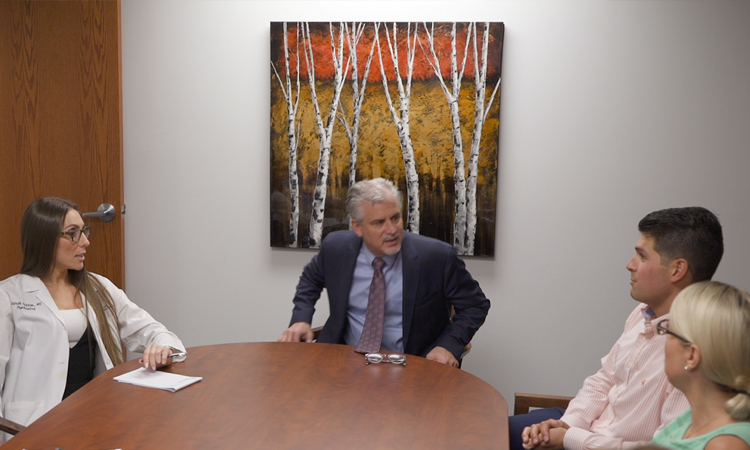
The Rochester Center for Behavioral Medicine (RCBM) is an outpatient behavioral health clinic dedicated to improving our patients' quality of life experience. RCBM brings together a comprehensive treatment team with various clinical backgrounds and specialties. Working together, we combine the treatment modalities of psychotherapy with medication and nutrition management to alleviate suffering and help people lead happier, more productive lives.
Under the medical leadership of Joel L. Young, MD, RCBM is a leader in diagnosing and treating ADHD. RCBM also offers a variety of services to children, adolescents, adults, and seniors, including treatment of ADHD and learning disabilities; depression, bipolar disorder, and other mood and anxiety disorders; work-related concerns; family and marital issues; substance abuse and eating disorders; and weight management. With both in-person and virtual options available, we can see patients from across the state of Michigan, from Lake Huron to Lake Michigan and Down River to the Upper Peninsula.
As part of our ongoing commitment to your safety and wellness, we require an annual in-person visit at our office for any patients prescribed controlled substances or GLP-1 medications, along with patients whose primary insurance is Medicare.
Learn MoreThe Medabolic Program offers a collaborative approach to weight management, integrating the services of our prescribers, therapists, and registered dietitians.
Learn MoreThe Rochester Center for Behavioral Medicine is pleased to offer SPRAVATO® (esketamine) for treatment resistant depression (TRD) and major depressive disorder with suicidal thoughts or actions.
Learn MoreV-Ray 2.0 for SketchUp 2014: A Comprehensive Guide
Introduction
V-Ray is a popular rendering engine used in various industries, including architecture, product design, and visual effects. SketchUp is a widely-used 3D modeling software that is known for its ease of use and flexibility. When combined, V-Ray and SketchUp provide a powerful toolset for creating stunning visualizations and animations.
In this guide, we will focus on V-Ray 2.0 for SketchUp 2014, which was a significant release that introduced many new features and improvements. We will cover the installation process, basic rendering techniques, and advanced features, such as materials, lighting, and animation.
System Requirements
Before installing V-Ray 2.0 for SketchUp 2014, ensure that your system meets the minimum requirements:
Installation
To install V-Ray 2.0 for SketchUp 2014, follow these steps:
Basic Rendering Techniques
To get started with V-Ray 2.0 for SketchUp 2014, let's cover some basic rendering techniques:
Materials and Textures
V-Ray 2.0 for SketchUp 2014 offers a wide range of materials and textures to help you achieve realistic results:
Lighting
Lighting is a crucial aspect of rendering. V-Ray 2.0 for SketchUp 2014 offers various lighting options:
Animation
V-Ray 2.0 for SketchUp 2014 allows you to create animations:
Advanced Features
V-Ray 2.0 for SketchUp 2014 offers several advanced features:
Tips and Tricks
Here are some tips and tricks to help you get the most out of V-Ray 2.0 for SketchUp 2014:
Conclusion
V-Ray 2.0 for SketchUp 2014 is a powerful rendering solution that offers a wide range of features and tools. By mastering the basics of rendering, materials, lighting, and animation, you can create stunning visualizations and animations. With practice and patience, you can unlock the full potential of V-Ray 2.0 for SketchUp 2014 and take your rendering skills to the next level. vray+20+for+sketchup+2014+hot
V-Ray 2.0 for SketchUp 2014 was a pivotal release that integrated high-end photorealistic rendering directly into the SketchUp workflow. Officially supported via Service Pack 1 (released April 2014), it introduced real-time feedback and advanced geometry handling that allowed SketchUp to compete with more complex 3D suites. Core Rendering Features
V-Ray RT (Real-Time): A revolutionary engine providing instant visual feedback during the design process. It allows users to see changes to materials, lighting, and camera angles immediately without waiting for a final production render.
V-Ray Proxy: Enables the rendering of high-polygon models (like trees or furniture) by loading them dynamically only at render time. This keeps the SketchUp viewport responsive and file sizes manageable.
Distributed Rendering: Allows users to harness the power of multiple computers on a network to speed up a single render. Lighting and Materials
Dome Light: Streamlines image-based lighting (IBL) using HDR images, producing artifact-free results with realistic shadows.
Lights as Components: Users can group V-Ray lights into SketchUp components, making it easier to manage and edit multiple light sources simultaneously.
V-Ray Express: Introduced in later service packs, this provides a library of over 200 materials and pre-made lighting setups to jumpstart scenes.
V-Ray Materials (VRMats): A cross-platform material library allowing users to share materials between different V-Ray versions and platforms. Workflow Enhancements V-Ray for SketchUp – Rendering Software & Plugin - Chaos
Before you start, ensure your computer meets the system requirements for both SketchUp 2014 and V-Ray for SketchUp 2014.
If you're having trouble finding the right version or need help with the installation, consider reaching out to Chaos Group's support or an authorized reseller for assistance.
V-Ray 2.0 for SketchUp 2014 was a milestone release that introduced powerful features to streamline the visualization process
. It bridged the gap between real-time feedback and final production quality. 🚀 Key Features in V-Ray 2.0 for SketchUp 2014 V-Ray RT (Real-Time) instant visual feedback as you make changes to materials, lights, and geometry. Runs on both CPU and GPU
, allowing you to utilize your graphics card for faster interactive rendering. Batch Render Tool Automatically renders all scene tabs in a SketchUp file with one click.
Saves significant time by eliminating the need to manually start renders for each view. V-Ray Proxies complex geometry
(like high-poly trees or cars) without slowing down your SketchUp viewport. Optimized in this version for faster export and easier creation of components. Lights as Components V-Ray lights can now be part of SketchUp components. Changing the settings of one light automatically updates all instances of that light in the scene. Dome Light HDR images for realistic Image Based Lighting (IBL).
Eliminates artifacts and simplifies the setup for realistic outdoor environments. 🛠️ Performance Improvements Optimized Render Times : Overall faster rendering compared to previous versions. Enhanced Material Workflow : Includes specialized tools like the V-Ray Express toolbar for quick access to material presets. Retrace Threshold : A new setting to reduce artifacts in Light Cache
calculations, improving the look of reflections and refractions. 💡 Quick Tips for Better Renders Use Proxies : Always convert high-poly models into V-Ray Proxies to keep your SketchUp file responsive. Organize Materials V-Ray Asset Editor to manage and customize textures efficiently. Low Quality for Previews : Set the quality slider to Low or Medium while testing lighting to save time. Safe Frame Safe Frame
in the render output settings to see exactly what will be in your final image. Important Compatibility Note
V-Ray 2.0 for SketchUp 2014 was a pivotal release that brought advanced rendering capabilities from 3ds Max and Maya to SketchUp users. This update, specifically launched as Service Pack 1 in April 2014, introduced official support for SketchUp 2014 Key Features and Performance Gains
The 2.0 release focused on speed, efficiency, and real-time visualization: V-Ray RT (Real-Time):
A revolutionary engine providing instant feedback as you modify cameras, lighting, and materials. Using GPU acceleration, it can perform up to 30 times faster than traditional CPU rendering for quick design reviews. V-Ray Proxies: V-Ray 2
This feature allows SketchUp to handle millions of polygons with minimal impact on file size or viewport performance. Proxies are dynamically loaded only during render time, which saves critical RAM. Dome Light:
An image-based lighting tool that uses importance sampling for artifact-free HDR lighting, streamlining environment setup. Batch Render Tool:
Introduced in Service Pack 1, it allows users to render all scene tabs in a SketchUp file with a single click. V-Ray Express:
Added in Service Pack 2, this provides a library of over 200 pre-set materials and interchangeable lighting setups for faster workflow. Chaos Forums Technical Specifications & Requirements
To run V-Ray 2.0 for SketchUp 2014 effectively, users generally required: V-Ray 2.0 for SketchUp Service Pack 1 Now Available
V-Ray 2.0 for SketchUp 2014: Unlocking Photorealistic Rendering
The world of 3D modeling and rendering has witnessed significant advancements over the years, with software developers continually pushing the boundaries of what is possible. One such powerful combination is V-Ray 2.0 for SketchUp 2014, a game-changer for architects, designers, and artists seeking to create stunning, photorealistic visualizations. In this article, we'll delve into the features and benefits of V-Ray 2.0 for SketchUp 2014, exploring how this dynamic duo can elevate your design workflow and help you achieve breathtaking results.
Introduction to V-Ray and SketchUp
Before we dive into the specifics of V-Ray 2.0 for SketchUp 2014, let's briefly introduce the two software powerhouses behind this integration.
V-Ray: Developed by Chaos Group, V-Ray is a renowned rendering engine used in various industries, including architecture, product design, and film production. Its robust capabilities allow users to create photorealistic images and animations with unparalleled control over lighting, materials, and environmental effects.
SketchUp: Trimble's SketchUp is a widely popular 3D modeling software used by professionals and hobbyists alike. Its user-friendly interface and vast library of user-generated models make it an ideal platform for designing and visualizing architectural, interior, and product designs.
The Power of V-Ray 2.0 for SketchUp 2014
The integration of V-Ray 2.0 with SketchUp 2014 brings forth a synergy that empowers designers to create breathtaking visualizations with ease. Here are some key features and benefits of this combination:
Unlocking Photorealistic Rendering
With V-Ray 2.0 for SketchUp 2014, achieving photorealistic rendering has never been more accessible. Here are some tips to help you get started:
Real-World Applications
The combination of V-Ray 2.0 and SketchUp 2014 has far-reaching implications for various industries, including:
Conclusion
V-Ray 2.0 for SketchUp 2014 is a powerful combination that unlocks photorealistic rendering for designers, architects, and artists. With its native integration, improved performance, and innovative features, this duo is poised to revolutionize the world of 3D modeling and rendering. Whether you're a seasoned professional or a hobbyist, V-Ray 2.0 for SketchUp 2014 offers the tools and capabilities to take your designs to the next level.
Getting Started
Ready to experience the power of V-Ray 2.0 for SketchUp 2014? Here's a step-by-step guide to get you started: SketchUp 2014 (or later) Windows 7 (or later) or macOS 10
Visuals and Images
To give you a better idea of what V-Ray 2.0 for SketchUp 2014 can achieve, here are some stunning examples of photorealistic renderings created with this combination:
[Insert images of photorealistic renderings created with V-Ray 2.0 for SketchUp 2014]
By combining the power of V-Ray 2.0 with SketchUp 2014, you'll be able to create breathtaking visualizations that bring your designs to life. Whether you're an architect, designer, or artist, this dynamic duo is sure to revolutionize your workflow and help you achieve stunning results.
V-Ray 2.0 for SketchUp 2014: Essential Guide V-Ray 2.0 was a landmark release for SketchUp 2014 users, introducing powerful rendering capabilities that remain a benchmark for architectural visualization. This version brought professional-grade lighting, materials, and speed to the SketchUp workflow. 🚀 Key Features of V-Ray 2.0
V-Ray RT: Real-time rendering allowed users to see changes instantly as they edited scenes.
V-Ray Dome Light: Simplified image-based lighting (IBL) for realistic exterior environments.
V-Ray Proxy: Managed complex geometry by loading only simplified versions in the viewport.
V-Ray Express: A toolbar with pre-set lighting and material configurations for faster setups. 💡 Pro Tips for Better Renders
Linear Workflow: Always use the Gamma 2.2 setting to ensure colors and lights appear natural.
Physical Camera: Treat the V-Ray camera like a real DSLR; adjust ISO, Shutter Speed, and F-number to control exposure.
Material Layers: Use the "Reflection" layer sparingly; a slight glossiness often looks more realistic than 100% mirror reflection.
Section Tools: Use V-Ray’s built-in section clipper to render interior cutaways without "leaking" light. 🛠 System Requirements (Legacy) Software: SketchUp 8, 2013, or 2014. OS: Windows Vista, 7, or 8 (64-bit recommended).
Hardware: Minimum 4GB RAM (8GB+ preferred for complex scenes).
🔥 Looking to upgrade? While V-Ray 2.0 is a classic, modern versions like V-Ray 6 offer cloud rendering and AI-denoising that drastically reduce render times. AI responses may include mistakes. Learn more
Before we get technical, let's interpret the keyword. When users search for "vray+20+for+sketchup+2014+hot," they aren't looking for temperature data. In rendering slang, "hot" refers to:
V-Ray 2.0 (not to be confused with V-Ray Next or V-Ray 5) was the last version to truly feel "lightweight." SketchUp 2014 was the last version before Trimble introduced major UI overhauls. Together, they form a stable, predictable rendering machine.
Step 1 – Assign V-Ray materials
Step 2 – Set up lights
Step 3 – Adjust camera
Step 4 – Quality settings
Step 5 – Render output
To run V-Ray 2.0 for SketchUp 2014 smoothly (and avoid the dreaded "Not Responding" cursor), you need a specific environment.